
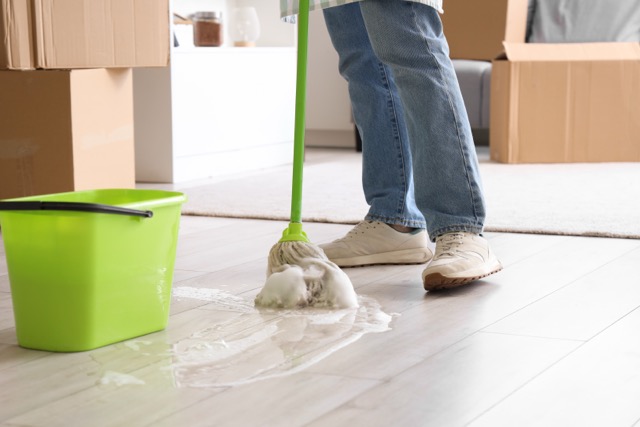
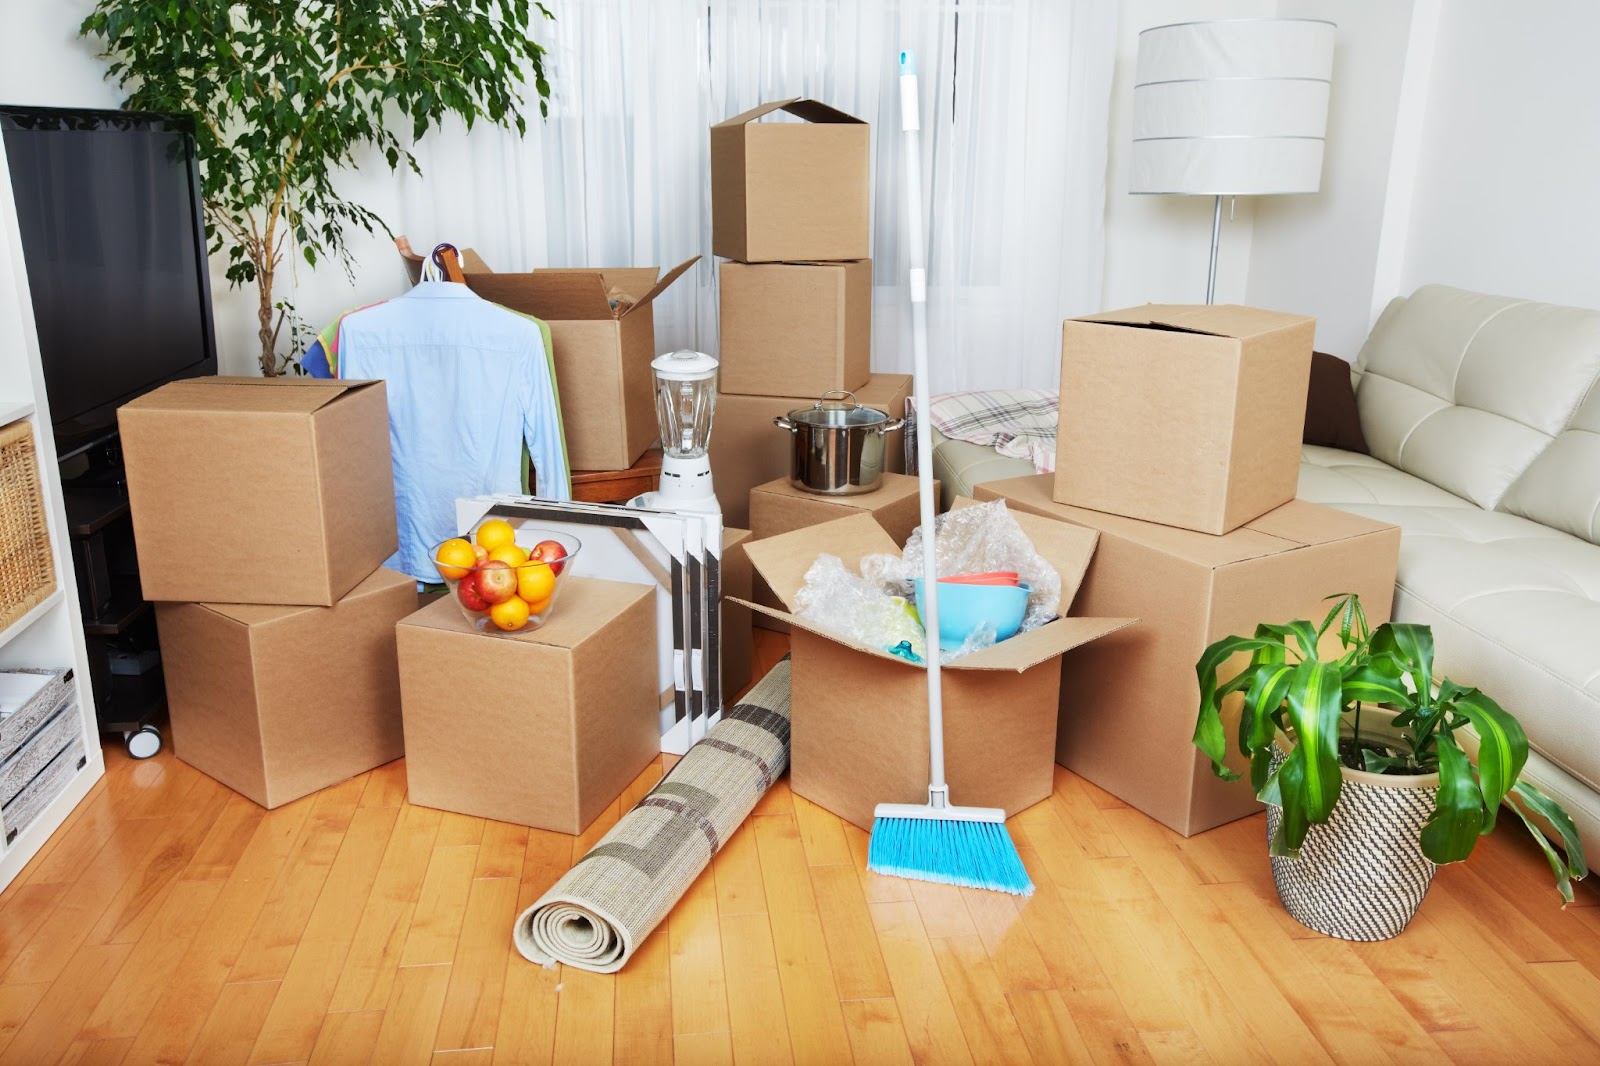
A moving cleaning checklist outlines every task needed to prepare your home for moving in or out. This step‑by‑step guide details how to deep clean each room for a stress‑free move. Professional move‑out cleaning services in Utah handles the heavy work, ensuring your old or new space is spotless and ready for its next chapter.
Moving out sparks excitement about your next chapter, but the deep clean required to leave your space immaculate feels daunting. Renters frequently lose deposits over small oversights like greasy cabinets or dusty vents, while homeowners delay closings when buyers spot lingering messes during walkthroughs.
Move-out cleaning services eliminate that stress, delivering professional, inspection-ready results every time. This guide provides a room-by-room checklist to tackle yourself — or hand directly to local Utah cleaning services for guaranteed perfection.
Follow these expert tips from Utah pros to secure your deposit, impress buyers, and transition smoothly without the cleaning headache.
Step-by-step and room-by-room cleaning guide
1. Kitchen
The kitchen is often the hardest room to clean, but it also leaves the biggest impression. Grease, food spills, and odors hide in overlooked places, so give yourself adequate time here.
Cabinets, shelves, and drawers
Empty all contents, wipe down inside and outside with an all-purpose cleaner, and polish handles or knobs. Don’t forget the top edges and kickplates.
Appliances
- Refrigerator: Unplug, remove shelves and bins, wash with warm soapy water, and dry completely before plugging back in.
- Oven and stove: Use a degreaser or oven cleaner for baked-on residue. Lift stovetop elements or grates to clean underneath.
- Microwave: Heat a bowl of water with lemon juice for two minutes, then wipe away food splatter easily.
- Dishwasher: Run a rinse cycle with vinegar to remove buildup and odor.
Countertops and backsplash
Use a multi-surface disinfectant, especially around sinks and cooling areas. Pay attention to grout lines that trap grease.
Sink and faucet
Scrub stains, disinfect handles, and pour baking soda and vinegar down the drain.
Floors
Sweep thoroughly, mop with a disinfectant cleaner, and clean the corners behind appliances.
Odor control
Keep the fridge door open briefly after cleaning and place baking soda near the back to absorb odors.
2. Bathrooms
Fixtures
Scrub sinks, tubs, and toilets using disinfectant cleaners suitable for porcelain and tile. Pay special attention to faucet bases and handles, where grime tends to collect.
Glass and mirrors
Spray glass cleaner onto a microfiber cloth, then wipe until streak-free.
Tiles and grout
Remove mold or mildew with a mixture of baking soda and vinegar or with a commercial tile cleaner.
Toilets
Scrub inside the bowl and under the rim, then disinfect the outer base. Replace or disinfect toilet brushes and holders.
Shower and tub
Remove soap scum with a descaling cleaner or lemon juice/vinegar mix. Polish glass doors for a spotless shine.
Cabinets
Empty contents, clean shelves, and replace liners if damaged.
Floors
Sweep, mop, and disinfect every corner, especially behind doors and toilets.
3. Living room
This is the visual centerpiece of your home, so every detail counts. Work from the top down to capture dust as you go.
- Ceilings and fans: Wipe down ceiling fan blades and corners for cobwebs.
- Walls and light switches: Spot-clean scuffs and dirt with a damp cloth or mild dish soap.
- Windows and frames: Clean glass, window tracks, and ledges thoroughly.
- Baseboards and vents: Vacuum first, then wipe with a damp cloth to remove fine dust.
- Furniture: Vacuum upholstery or wipe leather with the appropriate cleaner.
- Floors: Vacuum carpets or mop hardwood floors. If moving out, consider arranging professional carpet steaming through move-out cleaning services to remove deep stains.
- Decor and shelves: Dust decorative items, electronics, and shelves. Don’t forget behind the TV or under furniture.
Extra tip:
Move furniture away from walls to clean the edges of the space — landlords frequently inspect those hidden corners.
4. Bedrooms
Bedrooms should feel completely refreshed and allergen-free when you leave or move in.
- Closets: Remove all items, wipe shelves and rods, and vacuum or mop floors. Look for cobwebs in corners.
- Windows and blinds: Wipe blinds with damp cloths or vacuum brush attachments. Clean windows and sills for a clear finish.
- Fixtures: Wipe down light switches, ceiling fans, and outlets.
- Walls: Remove any tape residue or small marks with a gentle cleaner.
- Floors: Vacuum carpets and edges (baseboards tend to collect dust), or mop wood floors.
- Bedding items: Wash or dry-clean curtains and remove bedding if provided in a furnished rental.
5. Laundry area
People often overlook it, but the laundry room collects lint, detergent spills, and moisture. A clean setup leaves a great impression.
- Washer: Wipe detergent trays with vinegar to remove buildup. Run an empty hot wash with vinegar for internal cleaning.
- Dryer: Remove lint from the trap and vent pipe to reduce fire risk.
- Cabinets and shelves: Remove laundry products, wipe surfaces, and replace if necessary.
- Walls and floors: Sweep, mop, and remove sticky detergent residue.
- Hoses and faucets: Check for leaks and wipe down. A quick polish gives them a new look.
- Surrounding areas: Clean behind and underneath both machines.
Pro Tip
If you’re leaving a rental, note that laundry lint buildup is one of the most common cleaning complaint areas during inspections.
6. Garage/outdoor areas
These are the easiest places to neglect, but they greatly affect a landlord’s impression or real estate presentation.
Garage floors
Sweep or use a shop vacuum to remove dirt, sawdust, and debris. Mop oil stains using a degreaser.
Walls and shelving
Dust and wipe shelves, hooks, and pegboards—clean cobwebs from corners and overhead beams.
Garage doors
Clean rails and tracks, removing debris that may interfere with operation.
Entryways and exterior steps
Power-wash or scrub dirt, spiders, and leaves from entryways.
Trash bins
Hose out garbage and recycling bins, then disinfect with bleach or a hydrogen peroxide mixture.
Hazardous materials
Safely dispose of old paint, oil, or chemicals via local waste centers; never leave them behind for the next occupant.
Why move‑out cleaning matters
- Increases your chance of a full security deposit refund for renters
- Builds buyer confidence if you’re selling your home
- Prevents inspection delays during closing or re‑rental stages
- Reduces stress by setting a clear plan and structure
- Makes your home healthier; sanitization removes allergens and lingering odors
A tidy property reflects well on you and helps leave a positive impression on landlords, property managers, or new homeowners. Choosing professional move-out cleaning services simplifies the process and ensures you don’t overlook any area.
Common moving cleaning mistakes to avoid
-
- Waiting until the last day to clean: it takes longer than you might think.
- Using the wrong cleaners for surfaces: Harsh products may damage finishes.
- Forgetting inside appliances: Refrigerators, ovens, and microwaves are easily missed.
- Ignoring vents, blinds, or light fixtures: These are common inspection fail points.
- Not checking outdoor areas: Patios, entryways, and garages also need to be clean.
With a detailed moving cleaning checklist, you’ll avoid these missteps and stay organized.
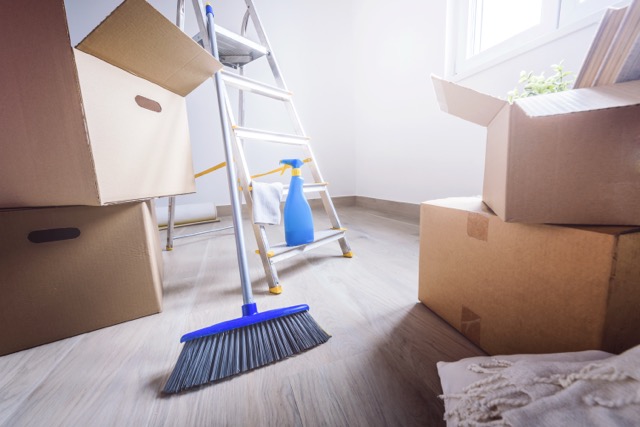
Tools and cleaning supplies checklist
- All‑purpose disinfectant spray
- Baking soda, vinegar, and gentle scrubbers
- Microfiber cloths and mops
- Vacuum with HEPA filter
- Glass cleaner and polish wipes
- Gloves, mask, and protective gear
- Trash bags and recycling bins
- Steam cleaner for carpets or upholstery
Want faster results? Experienced Utah cleaning services bring professional‑grade tools like steam extractors and eco‑friendly cleaning agents that deliver a deeper, safer clean.
FAQ
Q: When should I start cleaning during my move?
Begin cleaning at least one week before your move‑out date. Tackle one or two rooms per day, following a comprehensive moving cleaning checklist to stay on track.
Q: What’s included in professional move‑out cleaning services?
Typical services include deep cleaning of kitchens, bathrooms, floors, and fixtures; appliance cleaning; and debris removal — ensuring your home meets landlord or buyer requirements.
Q: How do I clean efficiently while packing?
Pack room by room, then clean each section immediately after. This prevents overlap and clutter.
Q: Are professional cleaners worth it in Utah?
Yes. Local Utah cleaning services are familiar with regional dust levels, landlord expectations, and eco‑friendly cleaning standards—making them both practical and convenient.
Q: What’s the most overlooked item during move‑outs?
Vents, blinds, and refrigerator interiors. These small areas often result in deposit deductions for renters, but they are easily handled with a detailed checklist.
Call Daisy Maids today
A successful move begins with smart organization and ends with impeccable, inspection-ready cleanliness that impresses landlords and buyers alike. This comprehensive moving cleaning checklist keeps you efficient, eliminates last-minute chaos, and ensures a smooth, stress-free transition to your new home.
For flawless results and the highest chance of reclaiming your full security deposit, choose Daisy Maids’ professional move-out cleaning services — Utah families’ trusted partner for sparkling spaces every time.
Call us at 801.335.5239 to schedule your move-out cleaning service.